本文记录了 Arch Linux 和 Windows 11 双系统安装和基本配置的流程。
- 硬件:Intel CPU,Nvidia GPU,双硬盘(nvme0n1 & nvme1n1);
- 软件:Windows 11(安装在 nvme0n1 上),启动类型为 UEFI;
- 目标:将 Arch Linux 安装在 nvme1n1 上,开机时通过 GRUB 引导选择启动系统。
1. Arch Linux 安装
1.1 参考
安装过程主要参考了以下几篇博客和官方 Wiki:
- Wiki: Installation guide
- Wiki: Dual boot with Windows
- Blog: Arch Linux + Windows 双系统安装教程
- Blog: 以官方 Wiki 的方式安装 Arch Linux
1.2 安装步骤
- 关闭 Windows 上的 UEFI Secure Boot、Fast Startup 和 Hibernation;
- 下载 Arch Linux 镜像,使用 Rufus 烧录 Arch Linux 镜像到 U 盘上;
- 注意分区类型选择 GPT,目标系统类型选择 UEFI;
- 从 U 盘中启动 Arch 安装系统;
- 连接网络
- 解除无线网卡的禁用:
rfkill unblock all - 进入 iwctl:
iwctl - 列出电脑中的无线网卡:
device list,得到无线网卡名称为wlan0 - 列出所有无线网络:
station wlan0 get-networks - 连接无线网络:
station wlan0 connect WIFI_NAME - 退出 iwctl:
exit - 检测是否连接成功:
ping baidu.com
- 解除无线网卡的禁用:
- 更新系统时间
timedatectl set-ntp true
- 硬盘分区与格式化
- 本次安装仅划分两个分区:
- 一个是根分区,使用了 nvme1n1 上的所有空间,挂载在
/目录下; - 一个是启动分区,使用了 Windows 中的 EFI 分区,即 /dev/nvme0n1p1,不另外单独划分,挂载在
/boot/目录下。 - 系统分区挂载后的结果如下(注:nvme1n1p1 分区为 Windows 划分,不用管):
1
2
3
4
5
6
7
8
9
10
λ ~/ lsblk
NAME MAJ:MIN RM SIZE RO TYPE MOUNTPOINTS
nvme1n1 259:0 0 931.5G 0 disk
├─nvme1n1p1 259:1 0 16M 0 part
└─nvme1n1p2 259:2 0 931.5G 0 part /
nvme0n1 259:3 0 953.9G 0 disk
├─nvme0n1p1 259:4 0 260M 0 part /boot
├─nvme0n1p2 259:5 0 16M 0 part
├─nvme0n1p3 259:6 0 951.6G 0 part
└─nvme0n1p4 259:7 0 2G 0 part
- 一个是根分区,使用了 nvme1n1 上的所有空间,挂载在
- 划分根分区:
cfdisk /dev/nvme1n1,将硬盘中所有空闲空间全部创建为根分区; - 格式化根分区:
mkfs.ext4 /dev/nvme1n1p2。
- 本次安装仅划分两个分区:
- 挂载分区
- 挂载根分区:
mount /dev/nvme1n1p2 /mnt - 挂载启动分区:
mkdir /mnt/boot/,mount /dev/nvme0n1p1 /mnt/boot/
- 挂载根分区:
- 选择镜像源:
- 修改
/etc/pacman.d/mirrorlist文件,在 Server 列表开头添加清华源和浙大源:1
2Server = http://mirrors.tuna.tsinghua.edu.cn/archlinux/$repo/os/$arch
Server = http://mirrors.zju.edu.cn/archlinux/$repo/os/$arch - 刷新镜像源:
pacman -Syy
- 修改
- 安装基本包:
pacstrap /mnt base base-devel linux linux-firmware vim e2fsprogs ntfs-3g networkmanager - 配置 Fstab
- 生成自动挂载分区的 fstab 文件:
genfstab -L /mnt >> /mnt/etc/fstab - 查看生成的文件是否正确:
cat /mnt/etc/fstab
- 生成自动挂载分区的 fstab 文件:
- 进入新系统:
arch-chroot /mnt /bin/bash - 设置时区:
ln -sf /usr/share/zoneinfo/Asia/Shanghai /etc/localtimehwclock --systohc
- 设置 Locale
vim /etc/locale.gen,注释 en_US, zh_CN 两行;locale-genvim /etc/locale.conf,在第一行添加LANG=en_US.UTF-8
- 设置 hostname 和 root 密码
- 设置 hostname:
echo arch > /etc/hostnamevim /etc/hosts,添加如下内容:1
2
3127.0.0.1 localhost
::1 localhost
127.0.1.1 arch.localdomain arch
- 修改 root 密码:
passwd
- 设置 hostname:
- 创建用户
- 创建用户:
useradd -m -G wheel -s /bin/bash yangfeng - 修改密码:
passwd yangfeng - 添加 root 权限:
vim /etc/sudoers,取消# %wheel ALL=(ALL) ALL注释
- 创建用户:
- 安装 Intel-ucode:
pacman -S intel-ucode - 安装 Bootloader:
- 安装 os-prob、grub 和 efibootmgr:
pacman -S os-prober grub efibootmgr - 部署 grub:
grub-install --target=x86_64-efi --efi-directory=/boot --bootloader-id=grub - 生成 grub 配置文件:
grub-mkconfig -o /boot/grub/grub.cfg - 检查 grub 配置文件:
vim /boot/grub/grub.cfg- 这里有可能没有检测到 Windows 的启动项,是因为目前所处的 U 盘安装系统无法检测到其他系统的入口,稍后重启进入 Arch 系统后再次生成 grub 配置文件即可
- 安装 os-prob、grub 和 efibootmgr:
- 退出 Arch 系统:
exit - 取消挂载分区:
umount /mnt/boot,umount /mnt - 重启:
reboot
2. Arch Linux 配置
2.1 参考
配置过程主要参考了以下博客:
2.2 配置过程
2.2.1 创建交换文件
- 在前面的安装过程中,我没有创建交换分区,而是在这里使用交换文件
- 分配一块空间用于交换文件:
dd if=/dev/zero of=/swapfile bs=1M count=8192 status=progress - 更改权限:
chmod 600 /swapfile - 设置交换文件:
swapon /swapfile - 在 fstab 中为交换文件设置入口:
vim /etc/fstab,在最后一行加上/swapfile none swap defaults 0 0
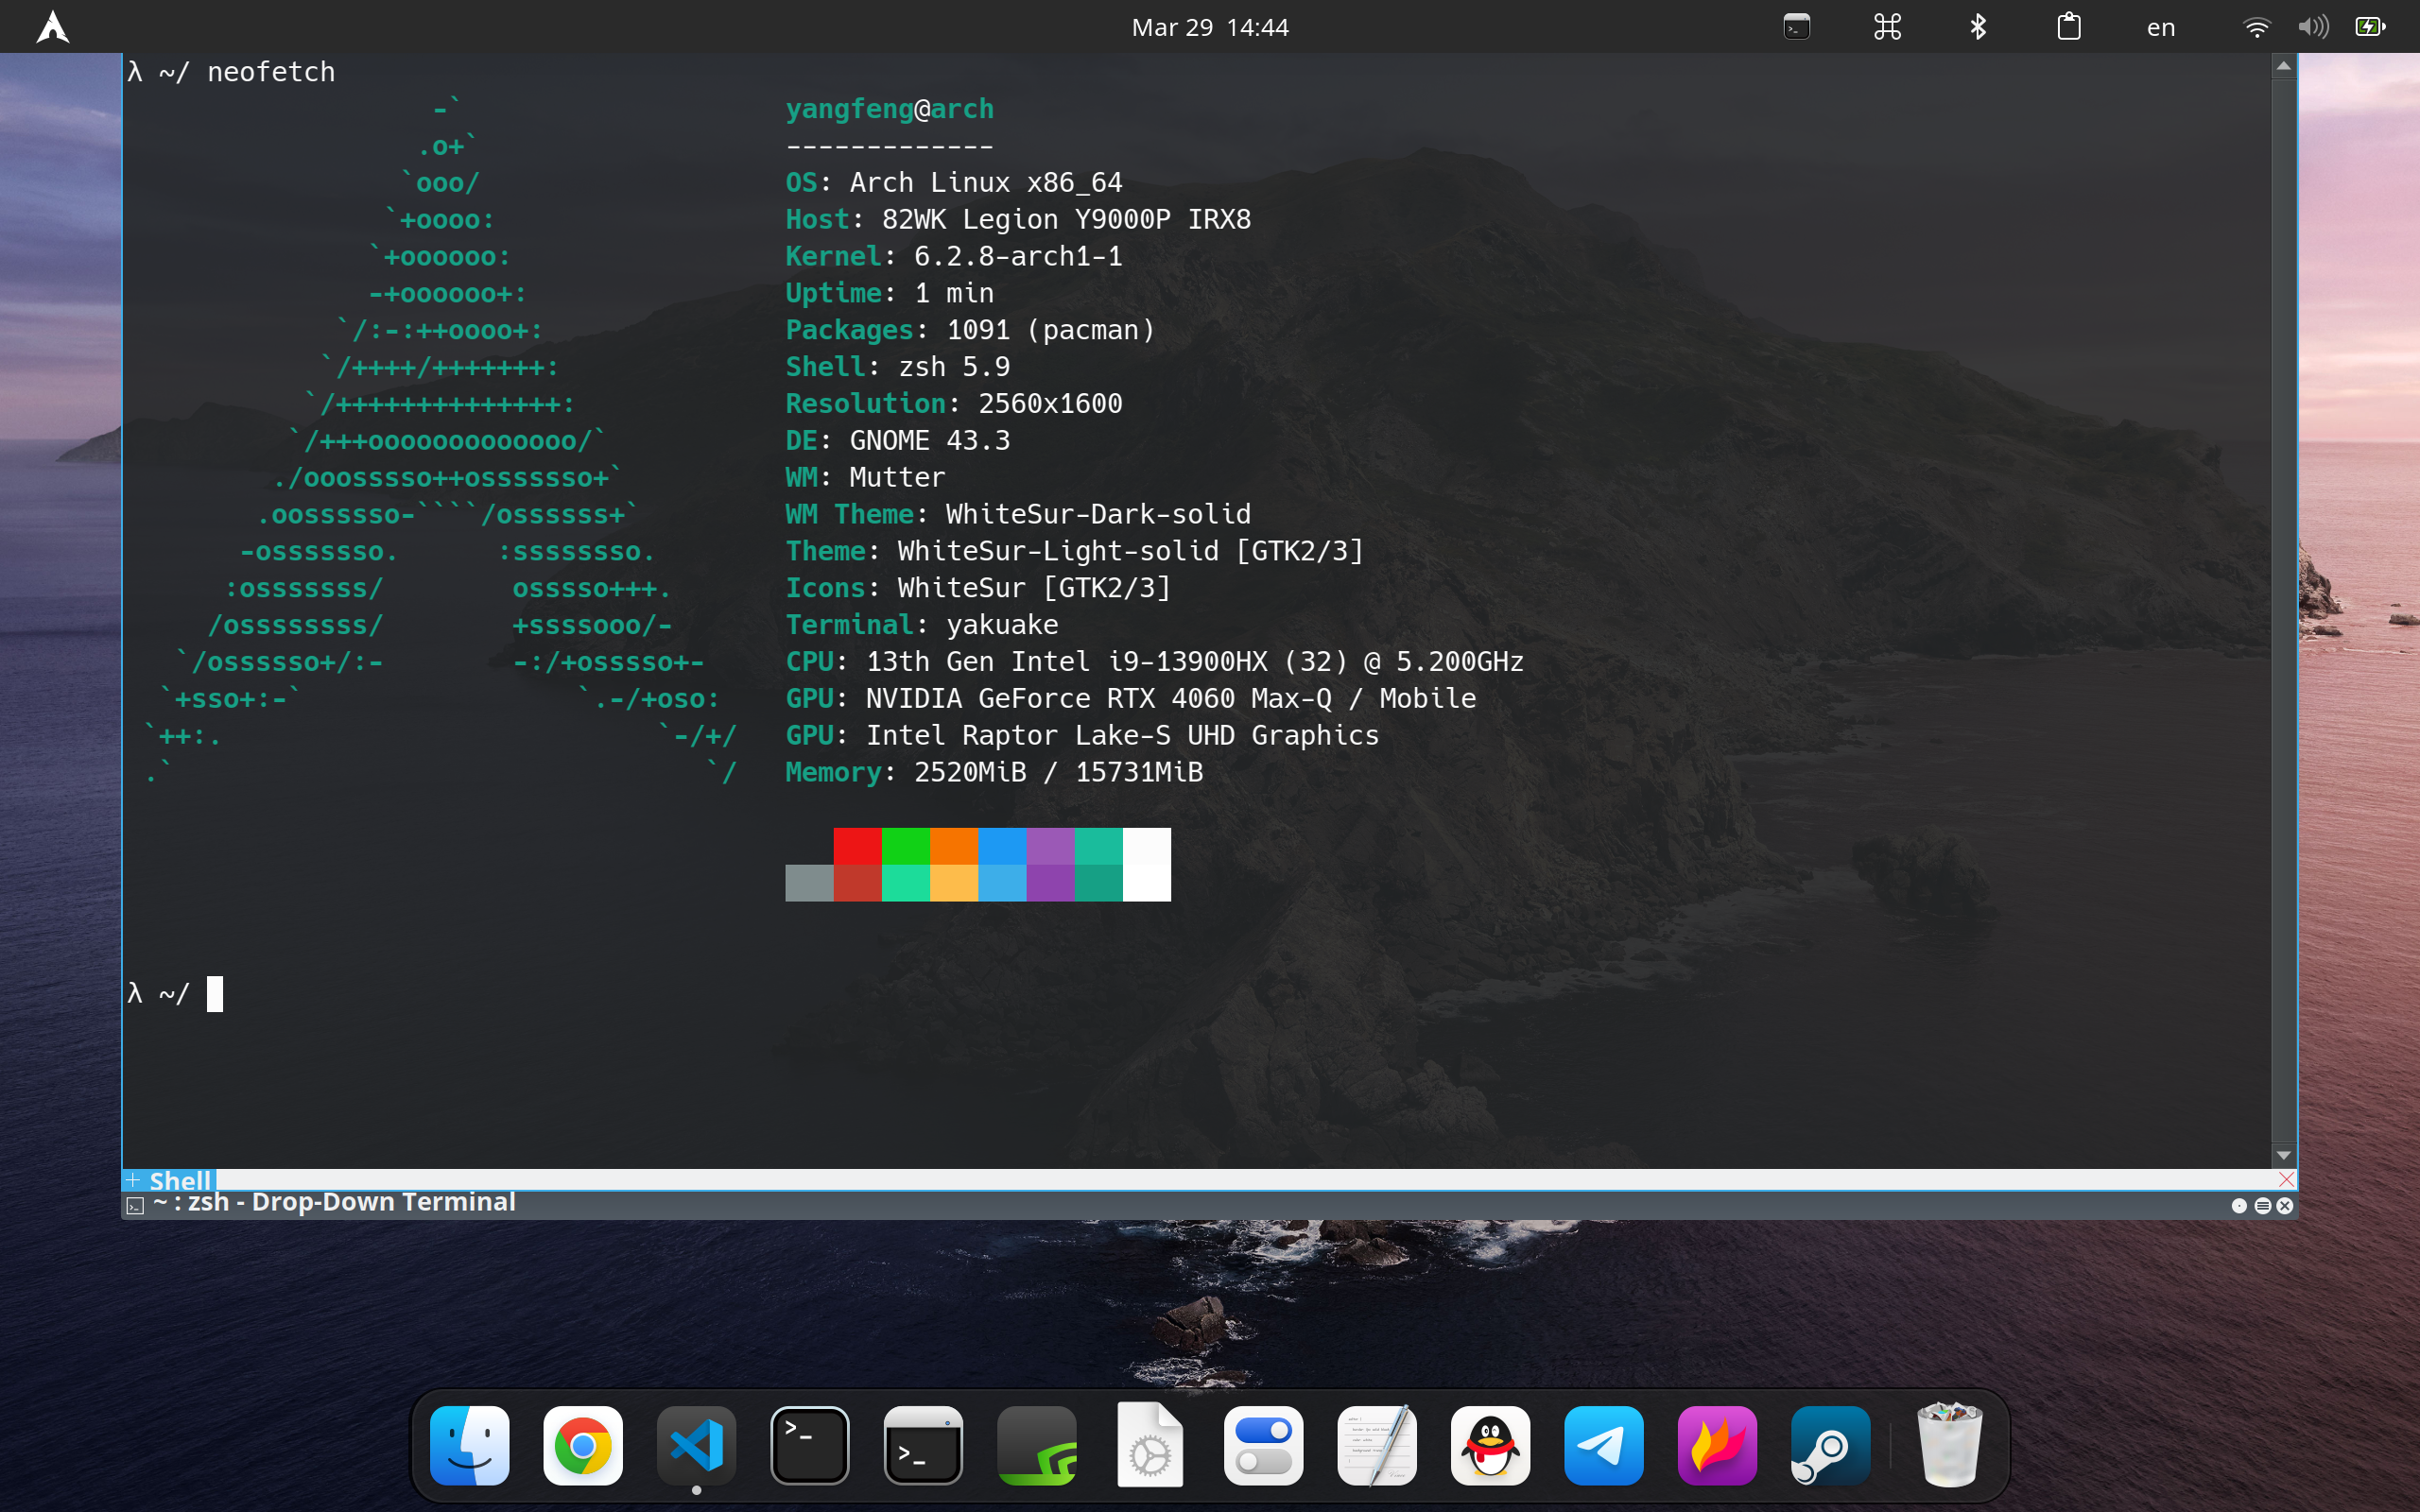
2.2.2 图形界面安装

GNOME 安装:
- 安装显卡驱动:
sudo pacman -S xf86-video-intel - 安装 Xorg:
pacman -S xorg - 安装 gnome 和 gdm-prime:
pacman -S gnome gdm-prime - 设置 gdm-prime 开机自启:
systemctl enable gdm-prime - 将 Wayland 切换为 Xorg:
vim /etc/gdm/custom.conf,取消#WaylandEnable=false的注释- 添加
QT_QPA_PLATFORM=xcb到/etc/environment中 - 检测当前是 Wayland 还是 Xorg:
echo $XDG_SESSION_TYPE
KDE 安装:
- 安装显卡驱动和 Xorg
- 安装 KDE:
pacman -S plasma sddm - 设置 sddm 开机自启:
systemctl enable sddm

GNOME 切换为 KDE:
systemctl disable gdm-prime
2.2.3 安装中文字体
安装字体:pacman -S noto-fonts noto-fonts-cjk noto-fonts-emoji adobe-source-han-sans-otc-fonts
2.2.4 配置网络
开机自启 NetworkManager:systemctl enable NetworkManager
NetworkManager 和 dhcpcd 只能启动一个。
2.2.5 pacman 配置
- 添加 Arch Linux CN 源
- 在
/etc/pacman.conf末尾添加如下内容:注意不要使用 tsinghua 源1
2[archlinuxcn]
Server = https://mirrors.ustc.edu.cn/archlinuxcn/$arch - 刷新源:
pacman -Syy - 安装密钥:
pacman -S archlinuxcn-keyring
- 在
- 开启 multilib
- 在
/etc/pacman.conf中注释 multilib 对应的内容
- 在
2.2.6 安装 yay
pacman -S yay
2.2.7 显卡配置
请查看文章 「Arch 显卡配置」。
- 安装 Nvidia 显卡闭源驱动:
sudo pacman -S nvidia nvidia-prime nvidia-settings nvidia-utils opencl-nvidia lib32-nvidia-utils lib32-opencl-nvidia - 安装双显卡切换工具:
yay -S optimus-manager optimus-manager-qt - 安装 nouveau:
pacman -S xf86-video-nouveau - 添加
prime-offload到~/.xinitrc中
如何指定 Nvidia 显卡启动应用?
- 指定环境变量:
__NV_PRIME_RENDER_OFFLOAD=1 __GLX_VENDOR_LIBRARY_NAME=nvidia command args... - 示例:
__NV_PRIME_RENDER_OFFLOAD=1 __GLX_VENDOR_LIBRARY_NAME=nvidia glxgears -info | grep GL_RENDERER - 设置 alias:
alias nvidia="__NV_PRIME_RENDER_OFFLOAD=1 __GLX_VENDOR_LIBRARY_NAME=nvidia"
2.3 应用安装
2.3.1 中文输入法
- 参考:在 Arch 上使用 Fcitx5
- 安装 fcitx5:
pacman -S fcitx5-chinese-addons fcitx5-git fcitx5-gtk fcitx5-qt fcitx5-pinyin-zhwiki kcm-fcitx5 - 修改环境变量:
- 添加以下内容到
~/.pam_environment1
2
3GTK_IM_MODULE DEFAULT=fcitx
QT_IM_MODULE DEFAULT=fcitx
XMODIFIERS DEFAULT=@im=fcitx
- 添加以下内容到
- 默认启动 fcitx5:
- 添加
fcitx5 &到~/.xprofile中
- 添加
- 配置主题:Fcitx5-Material-Color
2.3.2 clash
- 安装 clash:
pacman -S clash - 运行 Clash 生成配置文件:
clash- 配置文件位于
~/.config/clash/下
- 配置文件位于
- Run clash as a service
- Note: Clash binary is in
/usr/bin/clash - Clash configuration file is in
~/.config/clash/
- Note: Clash binary is in
- Set proxy in terminal:
- 将下面内容添加到
~/.zshrc中1
2
3
4
5
6
7
8alias setproxy='export HTTP_PROXY=http://127.0.0.1:7890;export HTTPS_PROXY=http://127.0.0.1:7890;export ALL_PROXY=socks5://127.0.0.1:7891'
alias unsetproxy='unset HTTP_PROXY HTTPS_PROXY ALL_PROXY'
alias setgitproxy='git config --global http.proxy "http://127.0.0.1:7890";git config --global https.proxy "http://127.0.0.1:7890"'
alias unsetgitproxy='git config --global --unset http.proxy; git config --global --unset https.proxy'
alias reclash='sudo systemctl restart clash'
- 将下面内容添加到
- Clash web ui
- Clash for windows bin
2.3.3 Steam
- 安装 Steam:
pacman -S steam - Steam HiDPI 设置:
- 参考:https://wiki.archlinux.org/title/HiDPI#Steam
- 修改
/usr/share/applications/steam.desktop- 添加启动环境变量
Exec=env GDK_SCALE=2 /usr/bin/steam-runtime %U - 或改为
Exec=/usr/bin/steam-runtime -forcedesktopscaling 1.5 %U
- 添加启动环境变量
- About desktop entry
2.3.4 OneDrive
- Install OneDrive:
yay -S onedrive-abraunegg - Run OneDrive:
onedrive --synchronize
安装图形化界面:onedrivegui-git
2.3.5 Printer
Reference: CUPS
- Install cups:
pacman -S cups; - Install cups-pdf:
pacman -S cups-pdf; - Start cups service:
systemctl enable cups; systemctl start cups; - Using Avahi:
pacman -S nss-mdns; systemctl enable avahi-daemon.service; systemctl start avahi-daemon.service - Install GUI application:
pacman -S system-config-printer; - Open web interface: http://localhost:631/
2.3.6 flameshot
问题:
- 外接显示器时,截图会出现屏幕错乱的情况;
- 贴图的大小与原本的大小不一致,且位置会偏移。
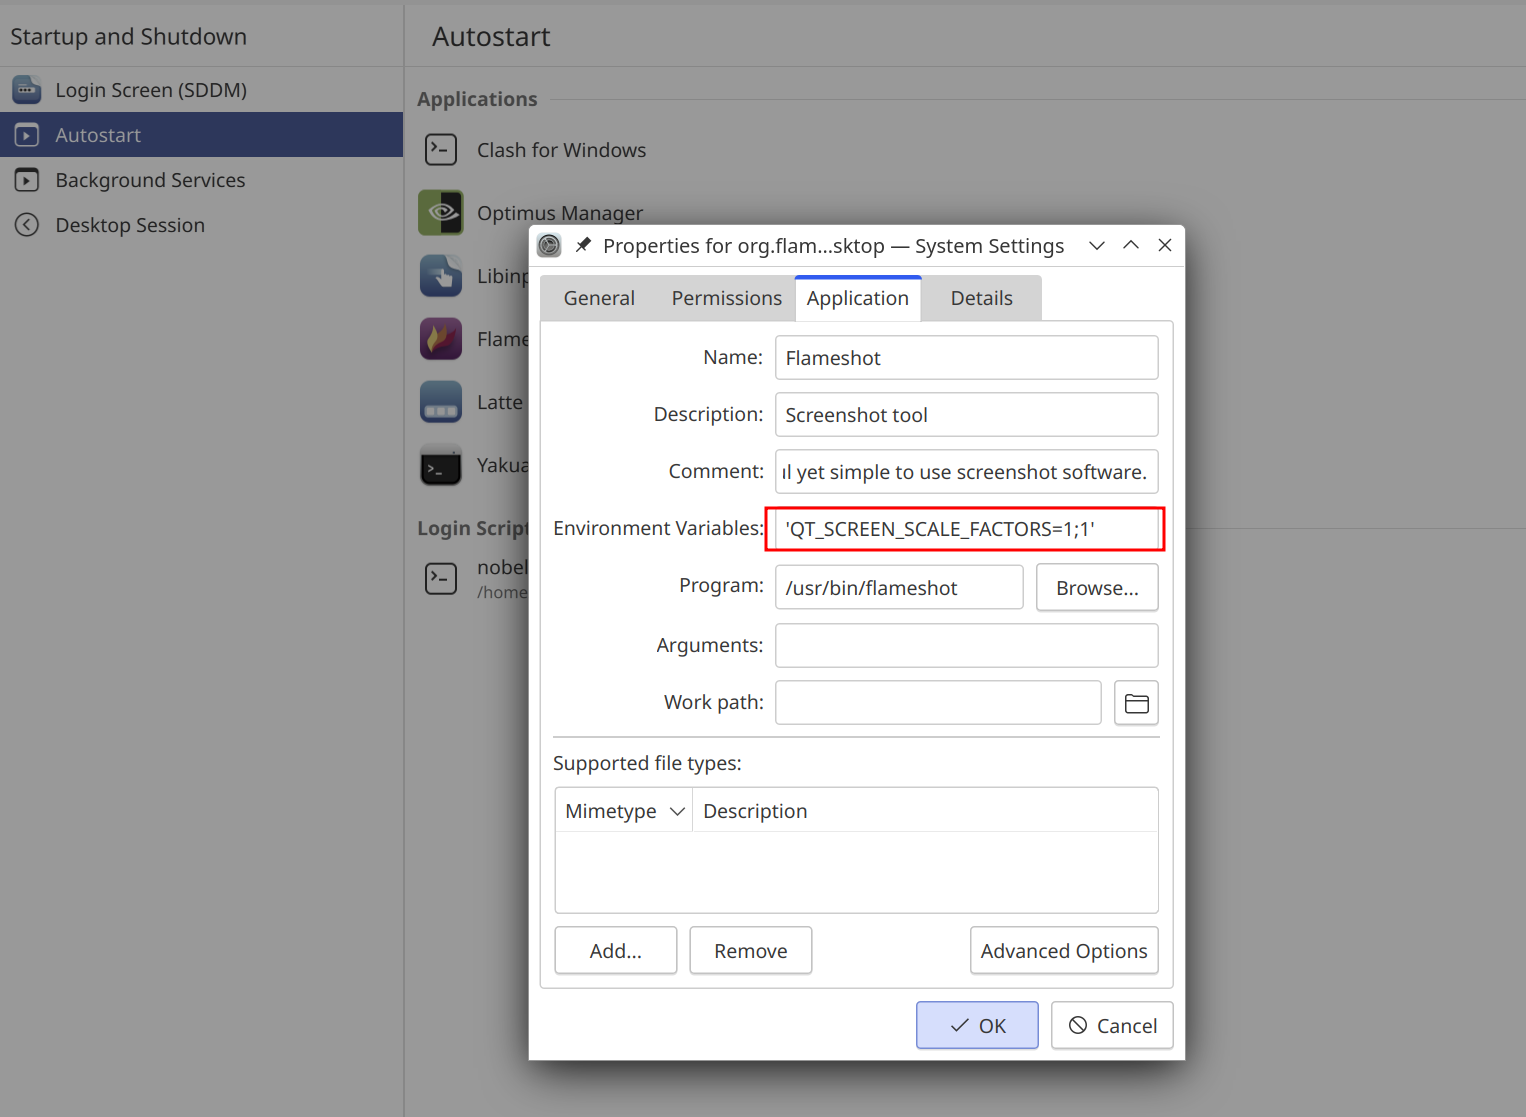
解决方案(flameshot HiDPI 设置):
在 /usr/share/applications/org.flameshot.Flameshot.desktop 中修改 Exec 项为 Exec=env QT_SCREEN_SCALE_FACTORS="1; 1" /usr/bin/flameshot。
注:在 KDE 中设置开机自启动时,需要再设置一下启动时的环境变量。
flameshot shortcuts 设置:
在 KDE 设置中的 Shortcuts 界面添加命令 env QT_SCREEN_SCALE_FACTORS="1; 1" flameshot gui,添加快捷键 F1 和 PrtSc。
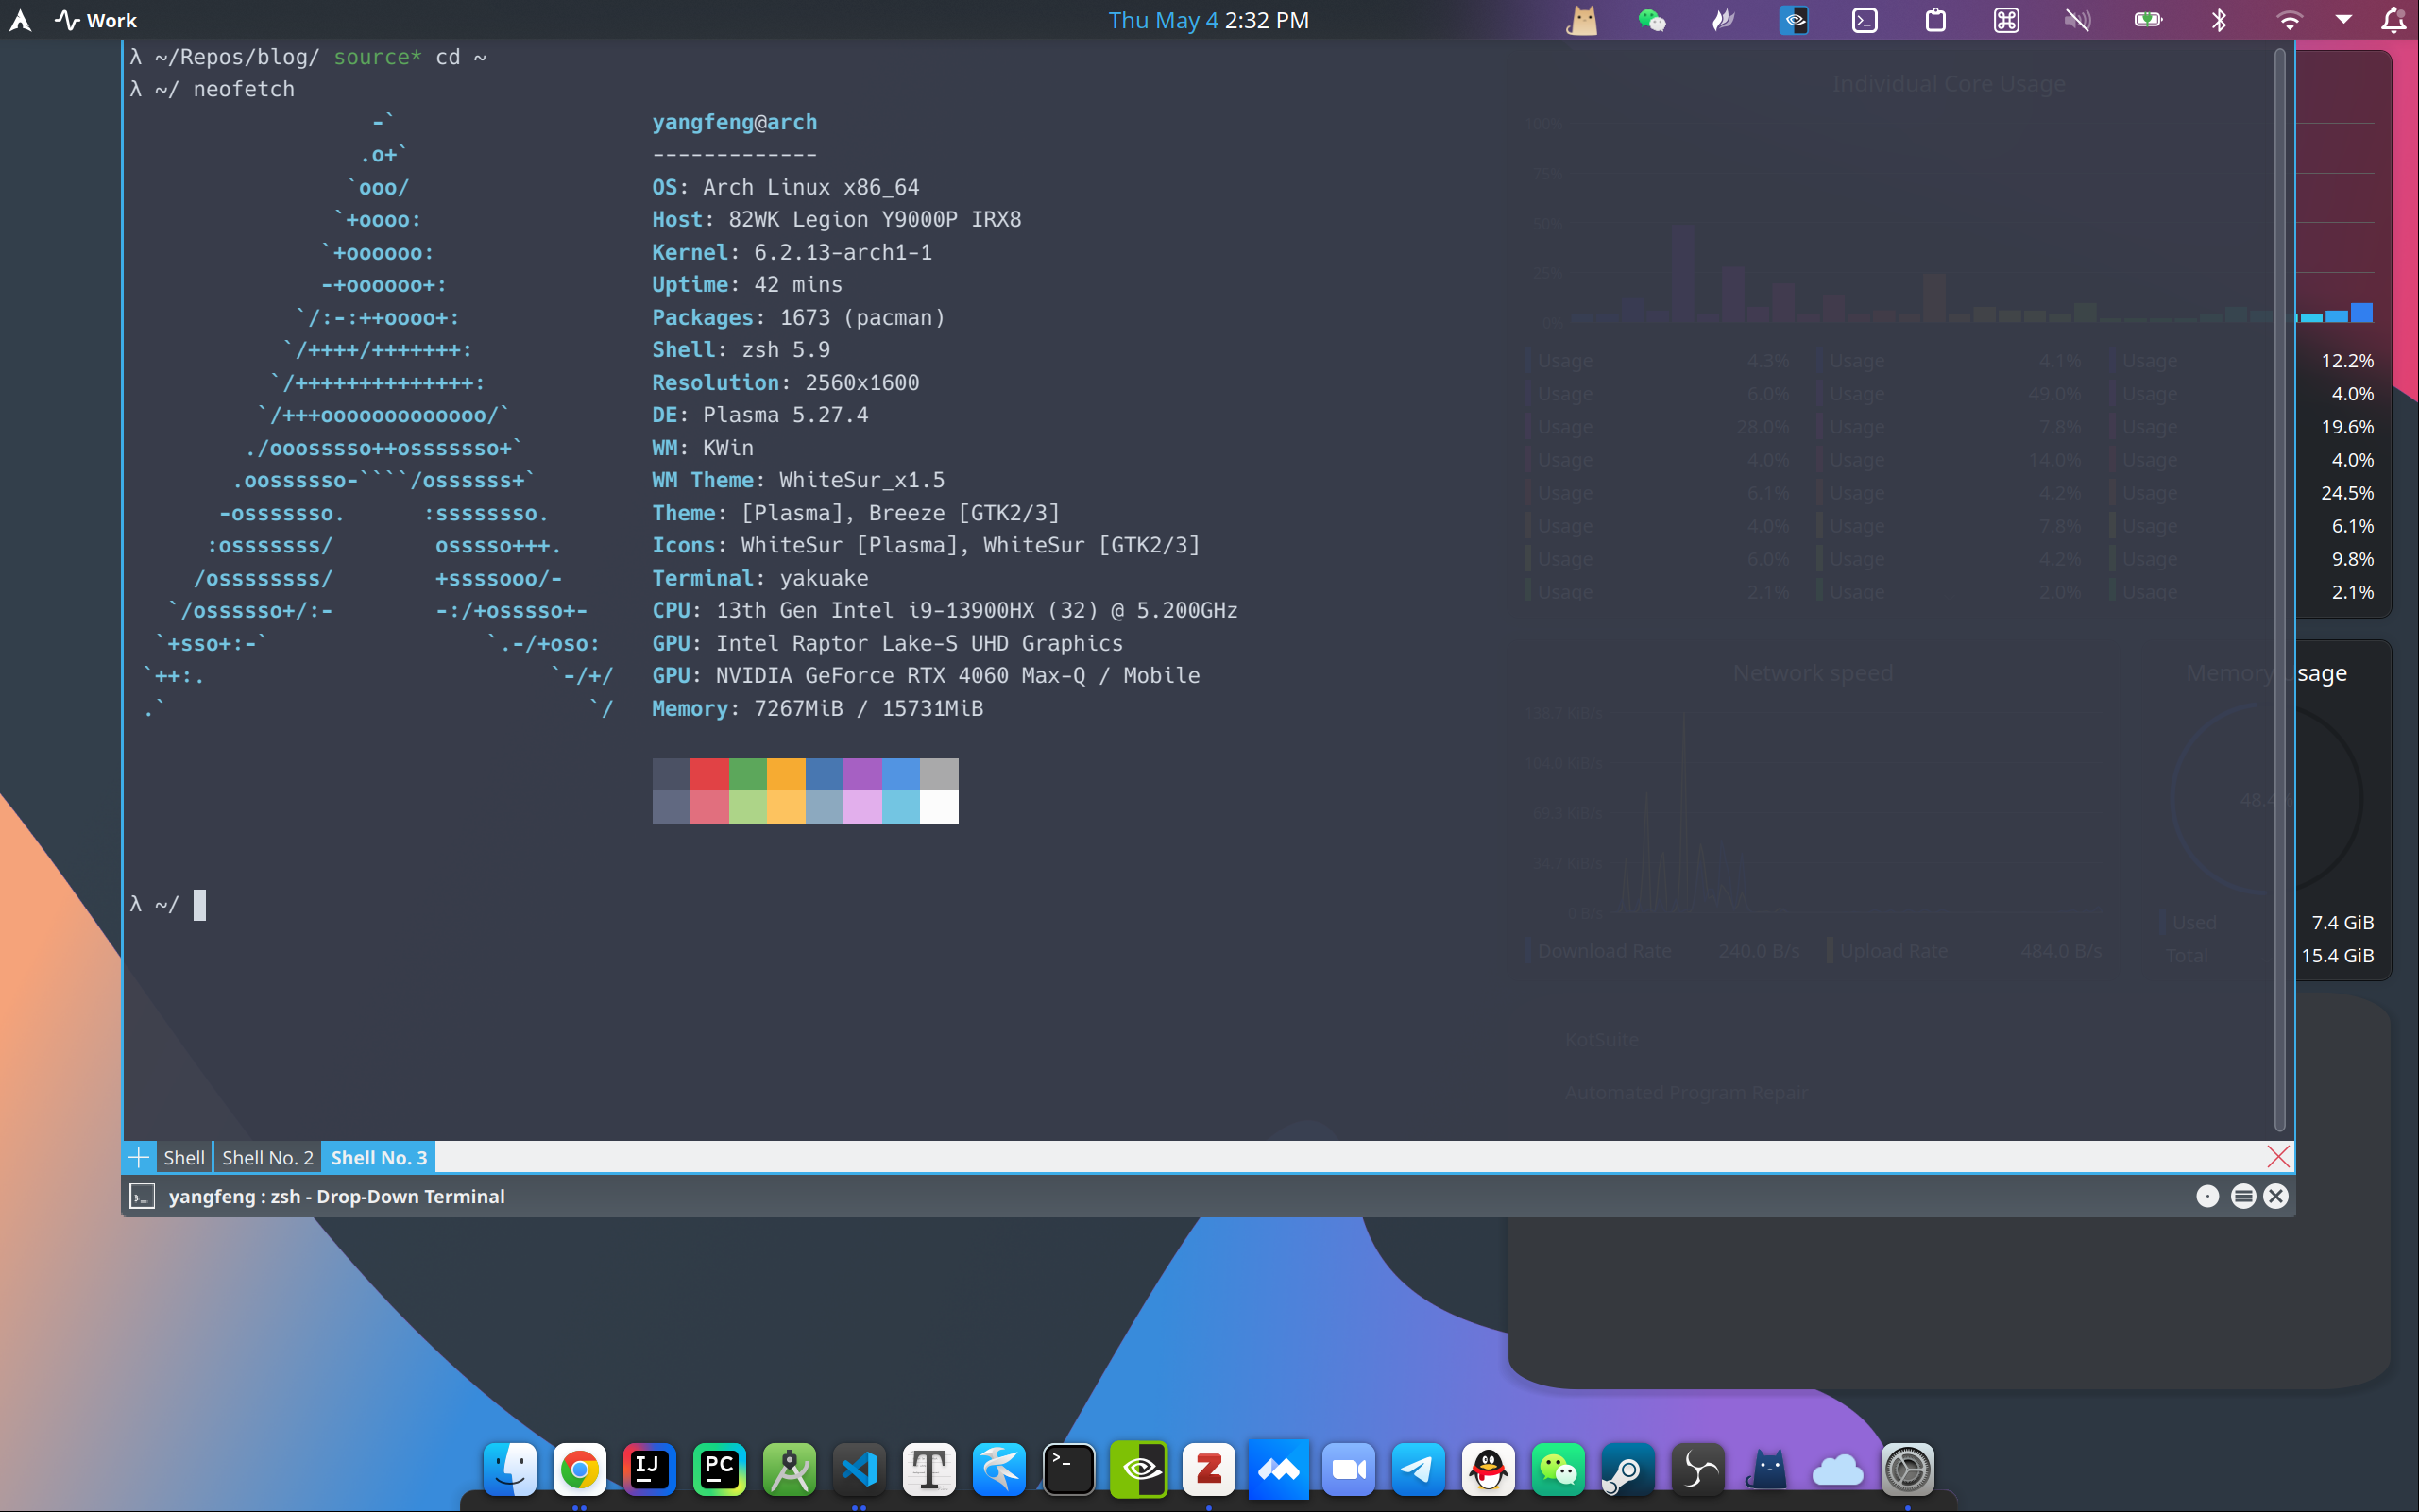
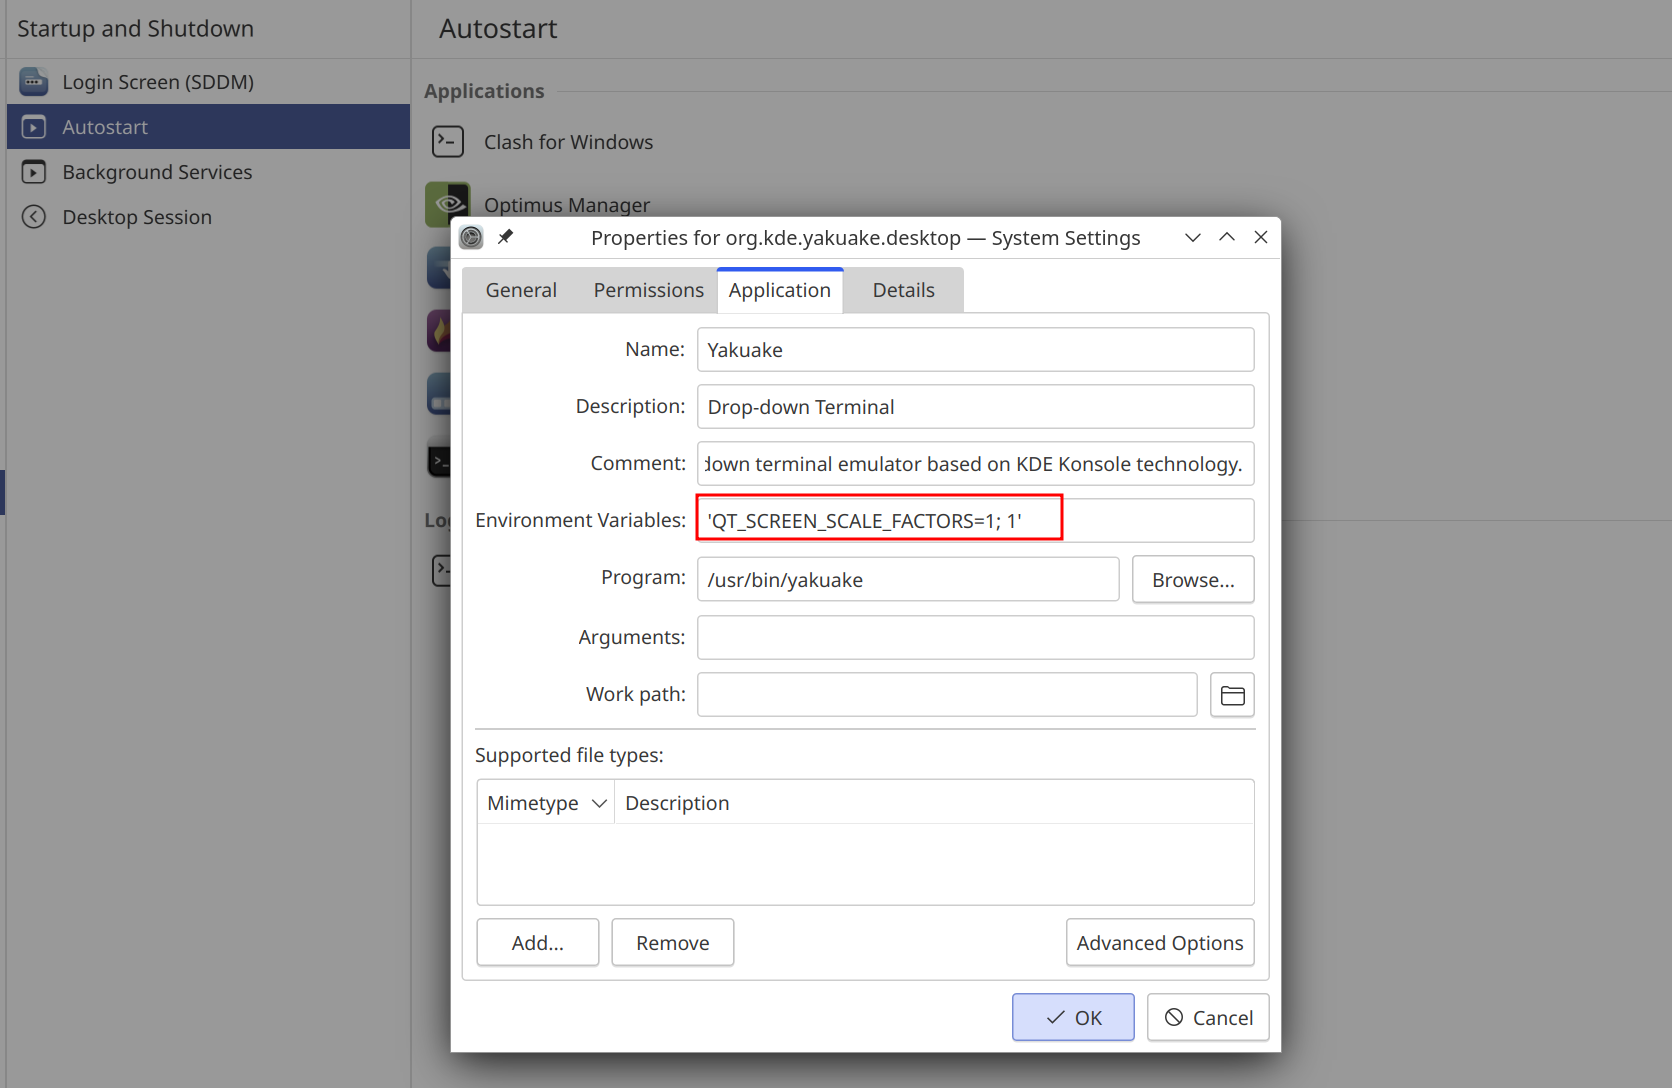
2.3.7 yakuake
问题:使用外接屏幕时不居中的问题
解决:在设置开机自启动时,需要设置环境变量。
2.3.8 其他
- dolphin
- konsole
- bluetooth
- Chrome
- yakuake
- linuxqq: 如何遇到崩溃退出,删除
~/.config/QQ/ - deepin-wine-wechat
- visual-studio-code-bin
- idea: 安装 Window Decorate Mode Switcher 插件用于隐藏 Top Bar
- telegram:图标模糊,同样设置环境变量
env QT_SCREEN_SCALE_FACTORS="1; 1" - nvm: Node Version Manager
- flameshot
- zsh & oh-my-zsh:
- nvtop
- zotero (zotfile plugin)
- scrcpy: 安卓投屏工具
- uxplay: iOS 投屏工具
- Docker Desktop
- Kubectl
- WPS
- 问题:加粗字体无法正常显示
- 解决方案:降级 freetype2
yay -U https://arch-archive.tuna.tsinghua.edu.cn/2023/06-26/extra/os/x86_64/freetype2-2.13.0-1-x86_64.pkg.tar.zst
- zip
- 问题:中文乱码
- 解决方案:指定编码方式
unzip -O CP936 path/to/archive1.zip -d /path/to/output
- picgo
- 配置文件:
~/.picgo/config.json - 上传文件重命名:
- 插件:picgo-plugin-rename-file
- 配置:
1
2
3"picgo-plugin-rename-file": {
"format": "image-{y}{m}{d}-{rand}-{origin}"
}
- alias:
1
2
3
4
5
6
7alias uploadimg='function _upload_image() {
local output=$(picgo upload)
local image_url=$(echo "$output" | grep -o "https://.*")
echo "" | xclip -selection clipboard
echo "Image URL copied to clipboard: $image_url"
}
_upload_image'
- 配置文件:
2.4 系统美化
2.4.1 Extensions
GNOME:
2.4.2 gnome-tweaks
- 安装 gnome-tweaks:
pacman -S gnome-tweaks - 安装美化包:
- WhiteSur Gtk Theme ->
/usr/share/themes/ - WhiteSur icon Theme ->
/usr/share/icons/ - McMojave cursors ->
/usr/share/icons
- WhiteSur Gtk Theme ->
- 将左上角的 activities 图标从 MacOS 更改为 Arch:
- 将 activities-arch 的图标放入
/usr/share/themes/WhiteSur-Dark-solid/gnome-shell/assets中; - 修改
/usr/share/themes/WhiteSur-Dark-solid/gnome-shell/gnome-shell.css,替换 activities 图标。
- 将 activities-arch 的图标放入
2.4.3 grub theme
- grub2-themes
- 如何设置 grub 默认启动项:修改
/etc/default/grub文件
2.4.4 HiDPI
用户登录页面 HiDPI 缩放比设置:
参考:How to force hiDPI scaling mode on boot in Pop!_OS/Gnome
- Open the configuration file:
/usr/share/glib-2.0/schemas/org.gnome.desktop.interface.gschema.xml - Change the default value to the scaling factor
1
2<key name="scaling-factor" type="u">
<default>2</default> - Apply the change:
sudo glib-compile-schemas /usr/share/glib-2.0/schemas
KDE per-display scaling
- 将显示器设置为 Extent to right
xrandr --output HDMI-0 2x2xrandr --output HDMI-0 1.5x1.5或者直接使用 alias 中的
monleft/monright
2.4.5 KDE Theme
- Application Style: Breeze
- Plasma Style: Arc Dark / WhiteSur-dark
- Colors: WhiteSurAlt / WhiteSur
- Window Decorations: Breeze / WhiteSur_x1.5
- Icons: WhiteSur
- Cursors: McMojave Cursors
- Widgets:
- Window title
- Global Menu
- Event Calendar
2.5 Shortcuts & alias (KDE)
Meta + E: open dolphinMeta + D: hide all normal windowsPrint: flameshot guiMeta + I: open settingAlt + Tab: switch windowsCtrl + F7: Toggle present windows (Window Class)Ctrl + F10: Toggle present windows (All desktop)Alt + Tab: Switch between windows (All windows)Alt + `: Switch between windows (Current application)Meta + Tab: Switch between workspaceCtrl + F1: Switch to first virtual desktopCtrl + F2: Switch to second virtual desktopAlt + Shift + F12: toggle compositorMeta + Ctrl + Right: Window to Next DesktopMeta + Ctrl + Left: Window to Previous DesktopMeta + tab: toggle present windowMeta + w: toggle overviewMeta + g: toggle grid view
1 | alias setproxy='export HTTP_PROXY=http://127.0.0.1:7890;export HTTPS_PROXY=http://127.0.0.1:7890;export ALL_PROXY=socks5://127.0.0.1:7891' |
2.6 双系统相关问题
2.6.1 Time standard
2.6.2 Bluetooth pairing
2.6.3 更新 Bios 后启动不显示 GRUB 界面
- 使用 arch 启动盘
mount /dev/nvme1n1p2 /mntmkdir /mnt/bootmount /dev/nvme0n1p1 /mnt/bootarch-chroot /mnt /bin/bash- reinstall grub:
grub-install --target=x86_64-efi --efi-directory=/boot --bootloader-id=grub - generate grub.cfg:
grub-mkconfig -o /boot/grub/grub.cfg exitumount /mnt/bootumount /mnt- reboot and select the arch system in the grub menu to boot
- after boot the arch system, regenerate the grub.cfg:
sudo grub-mkconfig -o /boot/grub/grub.cfg
Note (About grub):
- 操作系统菜单目录:/etc/grub.d/ 系统自动生成
- grub 配置文件:/etc/default/grub 用户配置文件,可以配置主题、默认启动项等
- grub 引导文件: /boot/grub/grub.cfg (grub-mkconfig 生成)
2.6.4 双系统文件互相访问
Arch Linux -> Windows
在 Dolphin 中点击挂载。
或者
在命令行中挂载:
1 | # Mount windows disk |
Windows -> Arch Linux
在 WSL 2 中挂载,参考:Mount a Linux disk in WSL 2
命令:
1 | # Identify the disk |
省流:
1 | # Mount the selected partition |
2.7 其他
2.7.1 日志
- pacman:
/var/log/pacman.log - xorg:
/var/log/Xorg.0.log - 系统日志:
journalctl -xe - 查询 PID 日志:
journalctl _PID=888 - clash:
/etc/clash/log.logsystemctl status clash
2.7.2 配置文件
~/.xinitrc~/.xprofile~/.pam_environment
pacman 配置文件:
/etc/pacman.d/mirrorlist/etc/pacman.conf
2.7.3 命令
- 不进入图形界面,进入命令行:
Ctrl-Alt-F2 - optimus-manager
1
2
3
4
5
6
7prime-offload
optimus-manager --switch nvidia
optimus-manager --switch integrated
# use glxinfo to show current GPU used
glxinfo | grep "OpenGL render" dmesg: Write the kernel message to standard outputlscpu: Display information about the cpu architectureintel_gpu_top: show intel gpu usagenvtop: show nvidia gpu usagenvidia-smi: show nvidia gpu usageconky: show all gpu usagesudo journalctl -b -1 | curl -F 'file=@-' 0x0.st: 查看上一次启动的日志文件,并上传systemctl list-unit-files --state=enabled: 列出所有活动的 service
2.7.4 触摸板手势
- 安装 libinput-gestures 和 xdotool:
yay -S libinput-gestures xdotool - 配置自定义手势:
nvim ~/.config/libinput-gestures.conf
1 | # Switch to next desktop |
四指左右滑动切换虚拟桌面,四指上滑查看所有窗口,四指下滑显示桌面,两指缩放。
2.7.5 字体配置
参考:
在 ~/.config/fontconfig/ 下添加配置文件 fonts.conf:完整配置文件
Nerd Font:
2.7.6 关闭响声
运行命令 xset -b,可以将其设为启动脚本。
2.7.7 Failed to start Load/Save Screen Backlight Brightness
现象:
- 启动系统时出现 Failed to start Load/Save Screen Backlight Brightness of backlight:nvidia_0;
- 系统运行
journalctl -xe出现 ACPI Error 报错信息。
解决方案:
- 运行命令:
sudo systemctl mask systemd-backlight@backlight:nvidia_0.service
3. 相关文档和链接
Arch Linux Documentation:
其他: